
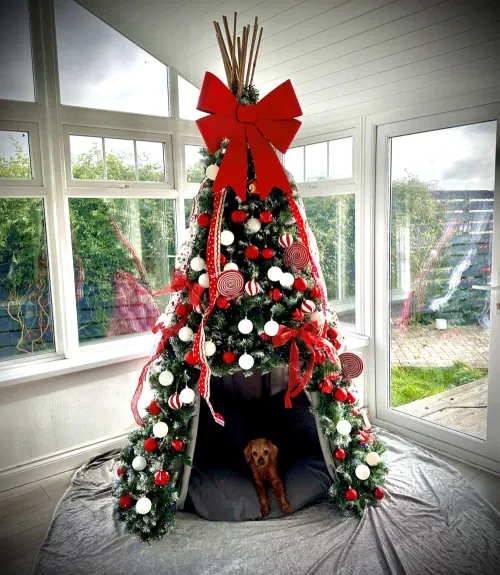
Step by Step instructions of how to make a Christmas Tipi Tree
Written 14th November 2023 | Subscribe to our Christmas newsletter
⭐🎅👇⭐👇🎅⭐
Buy 2026 Personalised Christmas Tree Ornaments here
⭐🎅☝️⭐☝️🎅⭐
A Christmas tipi offers a unique and enchanting twist to a traditional Christmas tree.
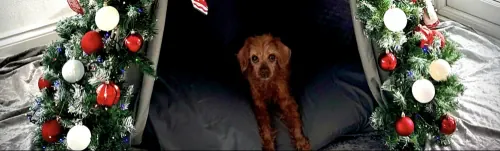
A cozy structure adorned with twinkling lights, and vibrant ornaments, and draped in seasonal colors. The Christmas tipi provides a magical setting for children - their very own den with Christmas magic.
Watch the how to video:
What you will need
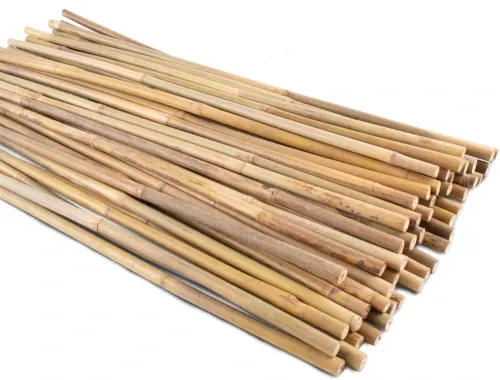
You need around 10-15 bamboo sticks. Depending on how tall you want your Tipi around 6ft - 8ft is a good height.
Buy Here
We used a super king size sheet for 8ft bamboo sticks but you could use a smaller size if you are making a smaller tipi Christmas Tree
Buy Here
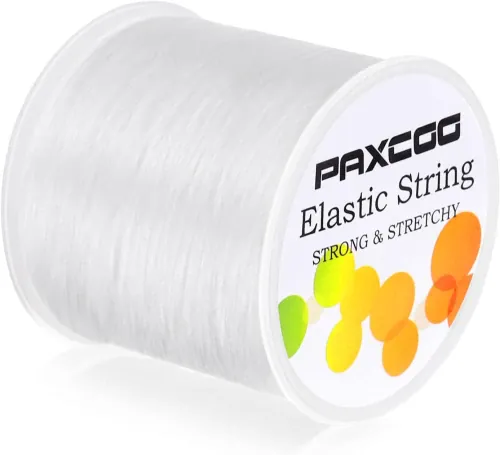
You will need 2 of these. Wrap them around the bamboo sticks individually so you have something to safety pin the sheet on to. They're also good to use for tieing the bamboo sticks at the top where they cross over and for keeping the spaced out structure in place.
Buy Here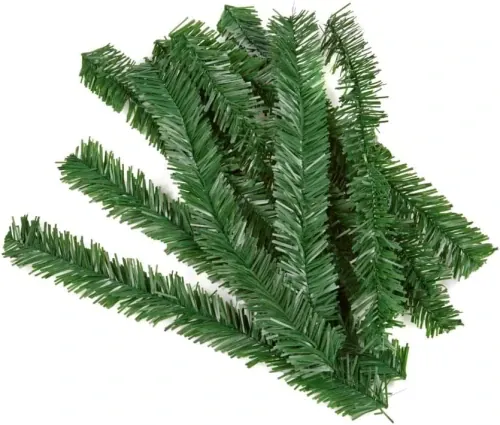
Step by Step Instructions
1. Make the structure
The first thing to do is get the structure of the tipi in place. We used a pack of 10 8ft bamboo sticks. We knew it could be tricky to get the bamboo sticks to stay in place as we had a slippery hard wood floor, so we thought blu-tac would be a good idea to fix to the bottom of the sticks to hold them in place. In hindsight, if your tipi is going on wooden floor then put a sheet or a rug underneath it.
The bamboo sticks came tied in 3 places, so we cut two of the ties leaving one at the top in place. Any string will do if your sticks don’t come with some but I would recommend a grippy type if possible to reduce movement.
Position your sticks into four corners. You’ll want two extra sticks at the front for the entrance and the remainder of the sticks for the middle of each side to give it strength.
We didn’t add the strengthening sticks to start with so ended up needing to buy and add further sticks on each side.
It’s important at this stage to wrap the elastic string around each of the bamboo sticks. This will allow you to attach the sheet in the next stage.
2. Attach the inner lining
We used a large flat super king bed sheet. It’s important that it’s flat and not a fitted sheet.
Attaching the sheet was the trickiest part of this project. As you can see, we tried a few different ways of attaching it.
We realised it would be easier for me to climb inside and stand up tall so that we could see that the back and sides flowed completely to the floor.
When you have found this point, put a safety pin through the centre point (where your head is) and then attach that to the top of the tipi with garden wire or one of the garland wire strips if you have them.
From this point work your way up from the floor fastening the sheet to the elastic string on the bamboo sticks with safety pins.
3. Attaching the garland
Now it’s time for the fun part; adding your garland. For this size we calculated we’d need at least 10 9ft garlands. This was just about enough, but I would personally go for 12 next time to get a fuller look.
I would recommend starting from the top. You can wrap the garland round and round from the top until you get to a point that is big enough for your door opening. From that point

Leave your comments here:


.webp)


.webp)