
.webp)
Written 31st October 2022 | Subscribe to our Christmas newsletter
⭐🎅👇⭐👇🎅⭐
Buy 2026 Personalised Christmas Tree Ornaments here
⭐🎅☝️⭐☝️🎅⭐
Space within a house can be tight, especially when all the Christmas Tree decorations come out. There is always the dilemma of where to put the tree and how much floor space will be used.
Martin Meaney, 34 from Dublin was working at home during COVID and after having to move his desk into his home, he just didn't have the space for a Christmas Tree. He came up with a clever hack for a minimal Christmas Tree.
Using only wood and a garland bought from Amazon. Martin claimed it was cost-effective at only £30 (€35) and could be reused each year.
For an even cheaper alternative, you could use real foliage. Some Christmas tree sellers throw away trees that they can not sell. You could make this for only the price of a piece of wood!
Tools Required
- Staple gun and staples: This is to attach the foliage to the wood, alternatives could be used.
- Shears or scissors: to trim the foliage or garland
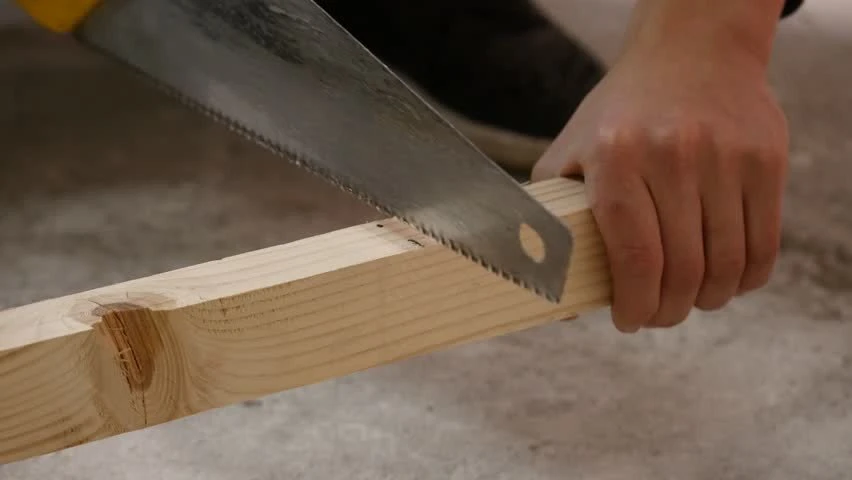
- Saw: to cut wood into planks
Materials
- Wood: To attach the foliage or garland. The wood then attaches to the wall.
- Foliage / Garland:
- Command strips: used to attach planks of wood to the wall. You will need around two multi-packs of command strips, each containing eight pairs of large and four pairs of medium strips. Alternatives can be used.
- Lights and decorations: to decorate!


Baba Mouchel shared her amazing homemade Christmas tree with us via facebook.
She added "I bought 1” x 2”s, cut them to form the triangle, put a piece across the middle. Nailed it together, painted it green. When it was dry I put the thick green garland around it. Then put the lights on and decorated it! It’s so perfect!"
Leave your comments here:


.webp)